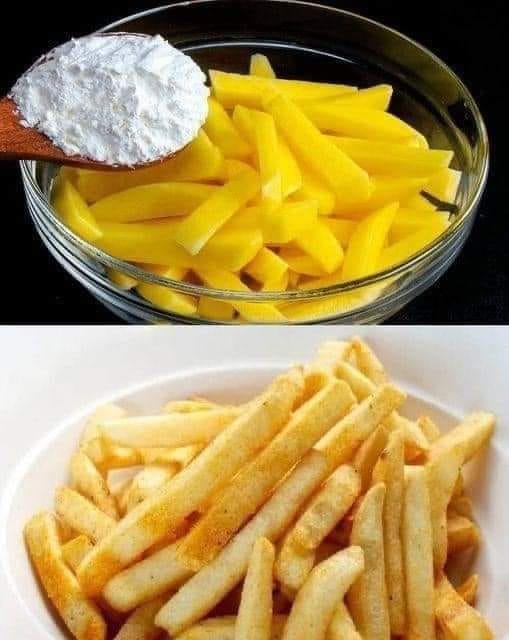
- Season: Once dry, transfer the potato slices to a bowl. Sprinkle with salt and any additional seasonings you like, tossing gently to ensure they are evenly coated.
3. Bake:
- Preheat Oven: Preheat your oven to 200°C (400°F). Place racks in the upper and lower thirds of the oven.
- Arrange on Baking Sheets: Line two large baking sheets with parchment paper. Arrange the potato slices in a single layer on the sheets, making sure they do not overlap.
- Bake: Bake for about 15-20 minutes, then flip each chip and rotate the baking sheets (switch racks) for even cooking. Continue baking for another 5-10 minutes, or until the chips are golden brown and crisp. Keep a close eye on them, as they can go from perfect to burnt very quickly.
4. Cool and Serve:
- Cool: Remove the chips from the oven and let them cool on the baking sheets for a few minutes; they will continue to crisp up as they cool.
- Serve: Once cool, transfer the chips to a bowl and enjoy. They are best when eaten the same day but can be stored in an airtight container for a day or two.
Additional Tips
- Experiment with Thickness: Depending on your preference for chip thickness, you might need to adjust the baking time. Thinner slices will become crispy more quickly.
- Variety of Potatoes: While Russet potatoes are recommended for their starch content, you can experiment with different types of potatoes for varying flavors and textures.
- Watch Closely: Since oven temperatures can vary, keep a close eye on your chips, especially during the last few minutes of baking.
Enjoying homemade crispy potato chips without a drop of oil is not only a healthier choice but also a highly satisfying culinary project. By mastering this simple technique, you can indulge in a classic snack tailored to your taste preferences, with the added bonus of knowing exactly what you’re eating. Happy snacking!
