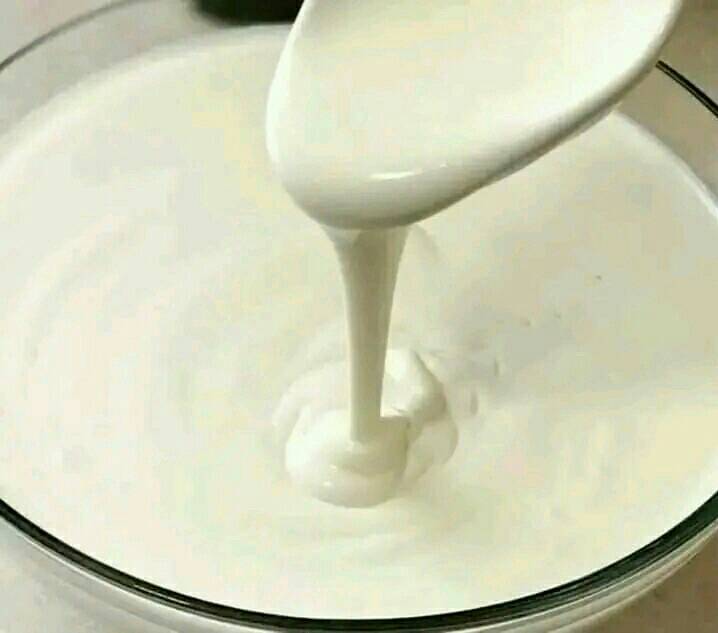
1. Heat the Milk
- Pour 1 liter of full-fat milk into a heavy-bottomed saucepan.
- Place the saucepan over medium heat and gradually bring the milk to a boil. Stir occasionally to prevent a skin from forming and to ensure the milk doesn’t scorch at the bottom.
- Once the milk begins to boil, let it simmer for a couple of minutes, then turn off the heat. Allow the milk to cool until it reaches a temperature of about 110°F (43°C). If you don’t have a thermometer, this is roughly when the milk is warm but not hot to the touch.
2. Add the Starter Yogurt
- Take 2 tablespoons of plain yogurt with live cultures and let it come to room temperature while the milk is cooling.
- Once the milk has cooled to the desired temperature, transfer it to a clean, dry container.
- Add the room-temperature yogurt to the warm milk. Whisk or stir thoroughly to ensure the yogurt is evenly distributed.
3. Incubate the Mixture
- Cover the container with a lid or a clean cloth.
- Place the container in a warm, draft-free location to incubate. The ideal temperature for incubation is around 110°F (43°C). You can use an oven with the light on, a yogurt maker, or simply wrap the container in a thick towel to maintain warmth.
- Let the mixture sit undisturbed for 6 to 8 hours, or overnight, until it sets into curd. The exact time may vary depending on the ambient temperature and the strength of the starter culture.
4. Check the Curd
- After the incubation period, check the curd. It should be firm and have a slightly tangy aroma.
- If the curd hasn’t set properly, you can let it incubate for a few more hours. If it’s too runny, try adding a bit more starter yogurt next time or adjusting the incubation temperature.
5. Refrigerate and Enjoy
- Once the curd has set to your satisfaction, transfer the container to the refrigerator. Chilling the curd will stop the fermentation process and help it firm up further.
- Let the curd chill for at least 2 hours before serving.
Tips for Perfect Curd
- Use Fresh Milk: The fresher the milk, the better the curd.
- Starter Yogurt: Ensure the starter yogurt contains live cultures. You can use a portion of your homemade curd as a starter for future batches.
- Temperature Control: Maintaining a consistent warm temperature during incubation is crucial. If your home is too cold, consider using a yogurt maker or placing the container in a warm water bath.
Serving Suggestions
- As a Snack: Enjoy curded milk plain or with a drizzle of honey and a handful of fresh berries.
- In Smoothies: Blend curded milk with fruits and a touch of sweetener for a creamy, probiotic-rich smoothie.
- In Cooking: Use curded milk in recipes like raita, tzatziki, or as a base for creamy dressings and dips.
Troubleshooting Common Issues
- Runny Curd: If your curd is too runny, it might be due to insufficient incubation time or low incubation temperature. Ensure the milk is warm enough when adding the starter yogurt and incubate in a consistently warm place.
- Sour Curd: Over-fermentation can cause the curd to become overly sour. Reduce the incubation time or lower the incubation temperature if this happens.
Making curded milk at home is a rewarding process that yields a delicious, versatile product. With this detailed guide, you’ll be able to create perfect curd every time, tailored to your taste and preference. Enjoy the health benefits and culinary possibilities of homemade curd, and savor the satisfaction of crafting this kitchen staple from scratch.
