1. Prepare the Dough
- Activate Yeast: In a small bowl, combine the warm water and sugar. Sprinkle the yeast over the water and let it sit for about 5-10 minutes until it becomes frothy.
- Mix Wet Ingredients: In a large mixing bowl, combine the warm milk and melted butter.
- Add Yeast Mixture: Pour the frothy yeast mixture into the bowl with the milk and butter. Stir to combine.
- Add Dry Ingredients: Gradually add the flour and salt to the wet mixture, stirring with a wooden spoon until a shaggy dough forms.
- Knead Dough: Turn the dough onto a floured surface and knead for about 8-10 minutes until the dough is smooth and elastic. If the dough is too sticky, add a little more flour as needed.
2. Let the Dough Rise
- First Rise: Place the dough in a greased bowl, cover it with a clean kitchen towel, and let it rise in a warm place for about 1-1.5 hours, or until it has doubled in size.
3. Shape the Dough
- Punch Down Dough: Once the dough has risen, punch it down to release the air.
- Shape Dough: Turn the dough onto a floured surface and shape it into a loaf or divide it into rolls, depending on your preference.
4. Second Rise
- Prepare Pan: If you’re making a loaf, grease a large, heavy-bottomed skillet or Dutch oven with olive oil or butter. If you’re making rolls, you can use a smaller skillet.
- Second Rise: Place the shaped dough into the greased pan, cover it with a kitchen towel, and let it rise for another 30 minutes.
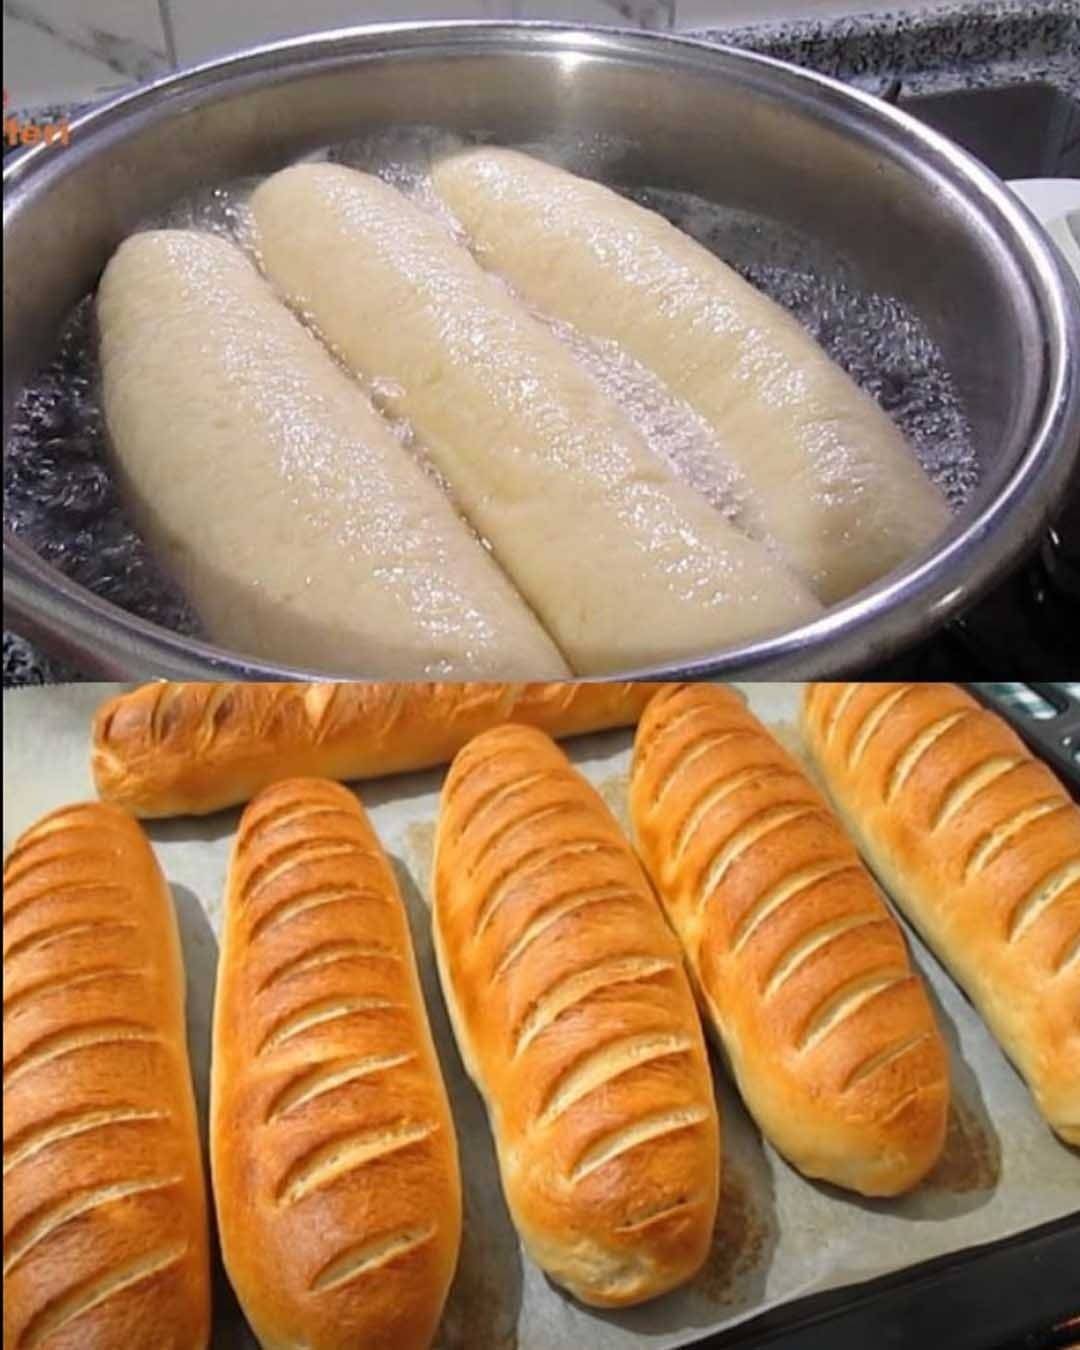
5. Cook the Bread
- Heat Pan: Place the pan on the stovetop over low heat. Cover it with a tight-fitting lid. This creates a mini-oven environment.
- Cook Bread: Cook the bread for about 25-30 minutes on one side. Check occasionally to ensure the bottom doesn’t burn. The bread should be golden brown.
- Flip Bread: Carefully flip the bread over using a spatula. Cook the other side for another 10-15 minutes until golden brown and cooked through.
- Check for Doneness: The bread is done when it sounds hollow when tapped on the bottom. You can also use a thermometer to check the internal temperature, which should be about 190°F.
6. Cool and Serve
- Cool Bread: Remove the bread from the pan and let it cool on a wire rack.
- Serve: Slice and enjoy your stovetop bread with your favorite spreads, or use it for sandwiches.
Tips for Success
- Temperature Control: Maintaining a low heat is crucial to ensure the bread cooks through without burning.
- Lid Usage: Keeping the lid on helps to trap heat and moisture, creating an oven-like environment.
- Checking Doneness: Always check the doneness to avoid undercooked bread. If the bread browns too quickly, lower the heat and cook a bit longer.
Conclusion
This No-Oven Stovetop Bread recipe is a fantastic way to enjoy homemade bread without the need for an oven. The result is a soft, fluffy bread with a beautiful golden crust, perfect for any occasion. Whether you’re in a pinch or simply want to try a new method of bread-making, this recipe is sure to become a favorite. Enjoy your fresh, homemade stovetop bread!
